



A gate that shuts itself behind you is a small piece of good manners. It keeps dogs in, children out of the front garden, and the wheelie bin where you left it. But self-closing gates only behave if three things are right: the posts are solid, the hinges are adjustable, and the latch is set to the gate's resting position rather than to a gate held shut by hand. Sort those out and the gate will still be closing sweetly five winters from now. Rush them and you will be out there with a spanner every weekend.
Start with the posts, not the gate
The most common reason a self-closing gate stops closing is a post that has moved. Timber posts set in ordinary soil shift with the seasons, and a gate that swung sweetly in April can be dragging on the ground by July. The gate is rarely the culprit.
- Use gate posts of at least 100mm square; step up to 125mm for anything wider than about 1.2m or carrying a heavy frame.
- Dig the hole 600–750mm deep and flare it at the base so the concrete forms a bell that resists lifting.
- Put 100mm of hardcore in the bottom for drainage, then concrete the post in and brace it so it cannot shift while curing. Give it at least 24 hours before hanging anything, longer in cold weather.
- Slope the concrete collar away from the post so rainwater runs off rather than sitting against the timber.
- Fixing to a wall instead? Check the masonry is sound and the bricks are not spalled. A crumbly brick will defeat the best hinge ever made.
Then check your gaps. Aim for roughly 10–15mm on the hinge side, 15–20mm on the latch side, and 40–50mm of ground clearance at the bottom — more if the ground slopes. The top of the gate needs clearance too, because most gates lift slightly as they swing open.
Choose hinges that actually adjust
"Adjustable" means different things on different hinges, so buy with the job in mind. A hinge that only adjusts up and down will not help you if the gate needs to move sideways towards the latch.
Common options
- Hook and band with an adjustable pintle. The pin winds in or out, raising, lowering or tilting the gate. Robust and well suited to heavy timber.
- Adjustable T-hinges with a threaded barrel. Height and lateral position can be tweaked without unbolting the gate. The easiest type to live with.
- Adjustable hinges for steel frames. Bolt-on or weld-on versions that let a timber gate hang in a metal frame.
- Spring hinges. The closing force is built in. Handy, but the spring tension is often fixed and springs lose their temper over the years.
If you want adjustable and self-closing, the simplest route is a pair of adjustable hinges plus a separate gate spring or a spring-loaded latch. Work that out before you drill a single hole, because the two systems take up different space on the stile.
Fix through the hanging stile with coach bolts rather than long screws. Screws pull out of softwood once the gate starts working. Pilot drill to stop the stile splitting, and specify galvanised or stainless steel — plated fixings rust, and the rust streaks run down the timber for years afterwards.
Give the gate a reason to close
Gravity is the most reliable closer there is. Hang the gate so the hinge stile sits a little higher than the latch stile — something like 10–20mm of fall across a 900mm gate — and it will swing itself shut without any spring at all. Adjustable hinges let you set that fall by raising the top hinge, lowering the bottom one, or using the lateral adjustment to swing the gate into line.
If the gate slams, the fall is too steep. If it stops halfway, it is not steep enough or something is binding.
You are aiming for a slow, positive close with enough momentum to carry the gate into the latch. Too much slope and it will accelerate, hammer the catch and shake the posts loose within a season. Traditional rising butt hinges are another option — they lift as the gate opens and drop closed under their own weight — but they are handed, so buy the correct pair for the direction of swing.
Test the swing before you go anywhere near the latch. It should move freely, without rubbing the post, catching the ground or fouling a planting bed on the arc.
Fit the latch last, and fit it to the resting gate
This is where most DIY gates go wrong. People hold the gate shut, mark the latch, and then wonder why it will not catch when the gate closes on its own.
- Hang the gate, set the closing fall, and let it settle into its natural resting position against the post.
- Mark the latch height with the gate resting there — not held shut by a knee.
- Fit the catch to the gate first, then use it as a template for the keeper on the post.
- Leave 2–3mm of play. A latch that has to be forced will not stay reliable, particularly once the timber swells in winter.
- Check the gate latches under its own weight, several times, before you tidy up.
A roller catch or a latch with a chamfered keeper is far more forgiving than a blunt bolt, because the gate can close and hold itself without you guiding it. If children or pets use the gate, consider a second latch set higher up, or keep the main latch out of small hands' reach.
Seasonal checks that take five minutes
Walk the gate through its swing once a season. Tighten the hinge bolts, put a drop of oil on the pivots, and trim any timber that has swelled against the post after a wet spell. Reseal cut ends with a suitable treatment and check the post for movement by pushing it firmly — a post that rocks now will be a gate that drags later.
One last thing worth knowing: if the gate opens onto a public footpath or road, check with your local authority before changing how it opens or closes. The rules around gates on highways are not something to guess at, and the answer is usually quick to get.
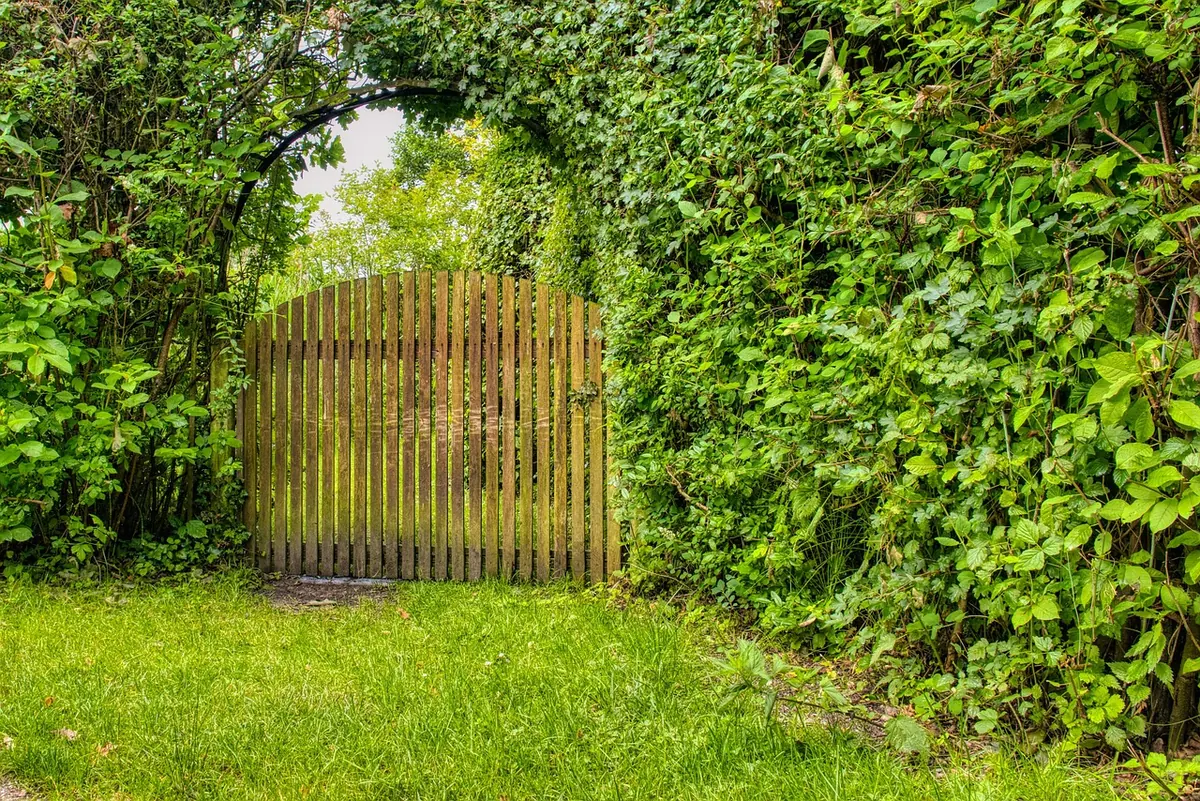
Photo: Antranias / Pixabay